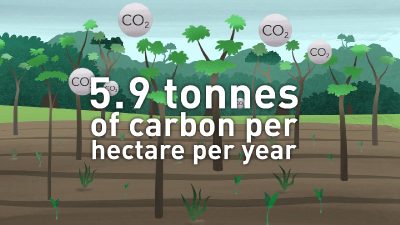
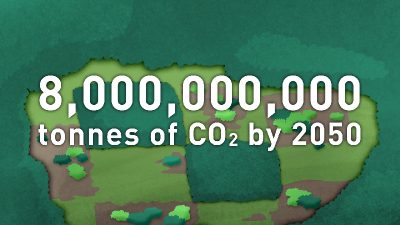
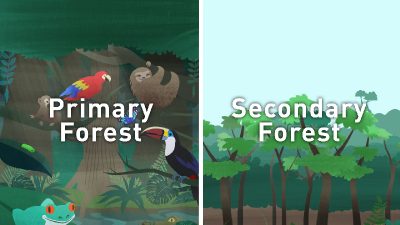
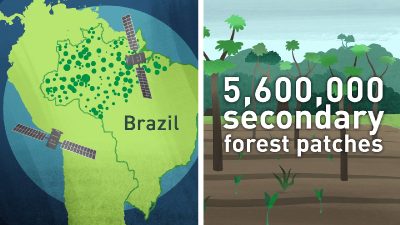
In early 2020, we worked with Charlotte Smith, an environmental science researcher from Lancaster University, and the research group ENVISION to create an animation about Charlotte's research into carbon storage in secondary forest in the Amazon.
This video aims to share Charlotte's scientific research in an engaging and accessible format to the general public. It also aims to give a sense of hope for forest restoration but that the problem is far from resolved.
This is one of the five animations we created for ENVISION PhD researchers in early 2020. In autumn 2019 ENVISION ran a competition where candidates submitted a brief for an animated film. The winners were selected by a judging panel and the prize was to have an animation produced about their research work.
Production Process
Style design options
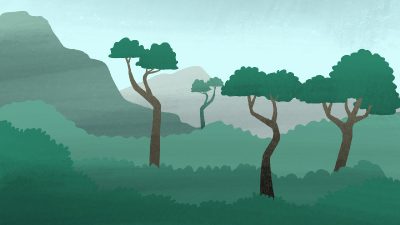
A style frame was designed to give an idea of how the final animation would look. The style designs were created using Adobe Illustrator and the textures were added in Photoshop.
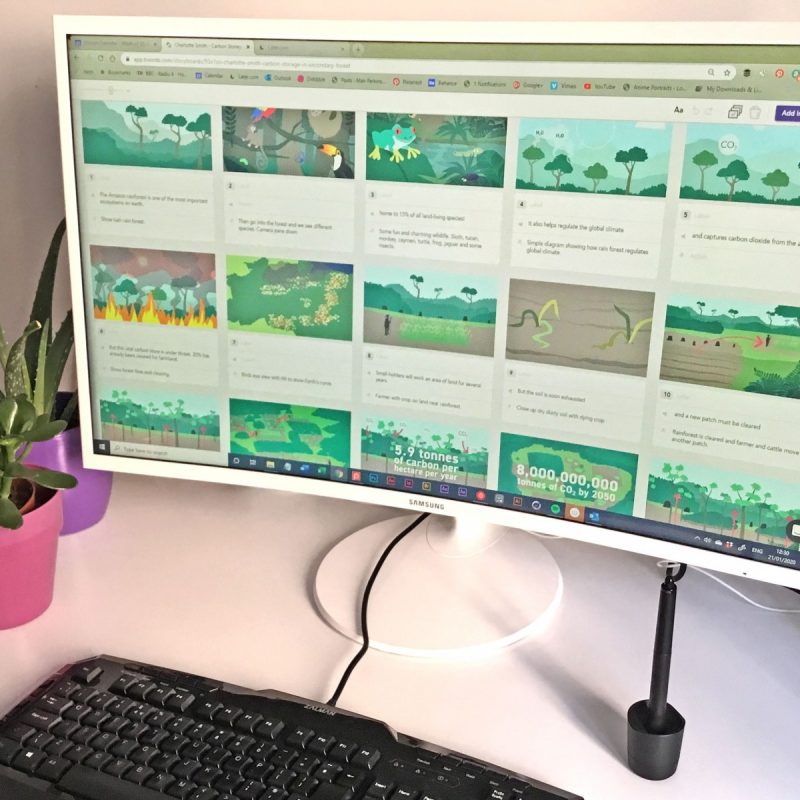
Sketched Storyboards and Animatic Video
A storyboard was sketched out based on the script. The storyboard images were then put into a video sequence with a draft voiceover recording so we could test the timings and ensure the script and images made sense when played together.
At this point we made some script and image revisions before moving to the next stage.
Illustration of Animation Assets
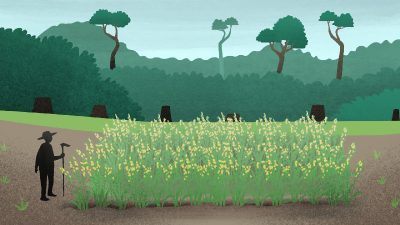
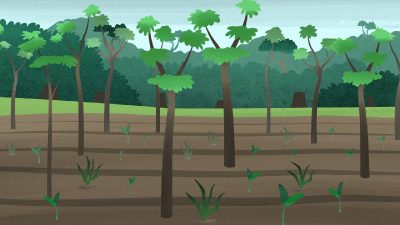
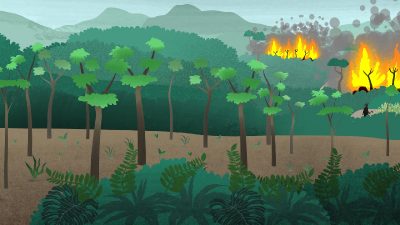
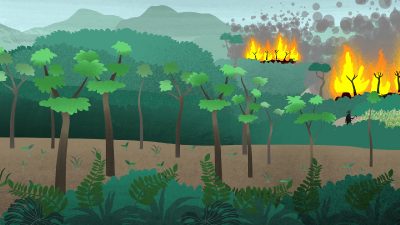
Once the sketched storyboards were signed off, the storyboards were illustrated in the style design.
The illustrations were designed in Adobe Illustrator with a Wacom Cintiq pen display.
Some revisions were made before moving onto the next production phase.
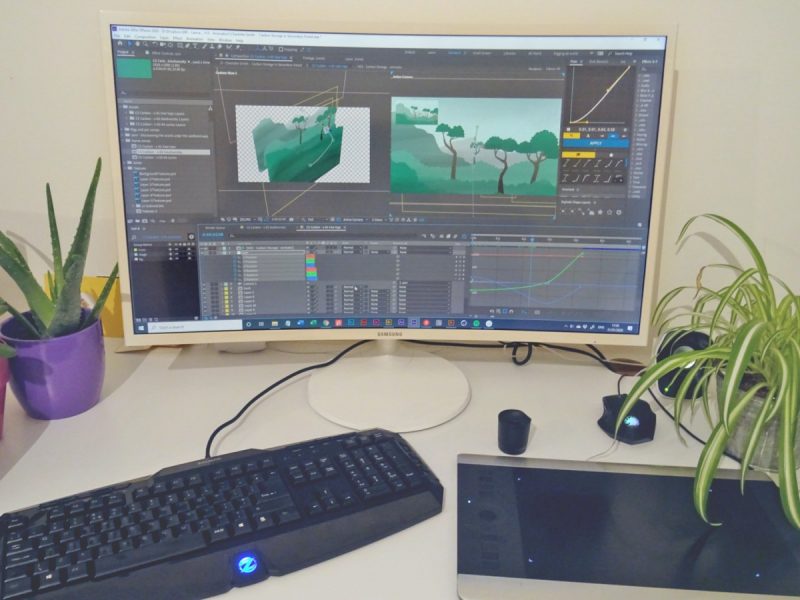
Animation
The animation phase started by preparing all the illustrations for animation. This involved separating artwork out onto layers and naming them.
A professional voice over artist recorded the script then the audio track was mixed and edited so it could be animated in time to.
Results
Charlotte is using her animated video to successfully explain and engage people in her research.
The animation was released publicly on Twitter and received positive feedback and engagement.