Derby’s art gallery, cinema and general creative building of awesomeness, QUAD, ran a one day course on projection mapping. Projection mapping is used in events, art installations and video DJ sets. Here are a few example videos on the kind of art work you can create using projection mapping techniques.
Pretty amazing, huh?
It works by projecting images or video onto an object then plotting out the areas that it will be shown. So you have to take into account the angles, curves, distortions and the perspective of the viewers.
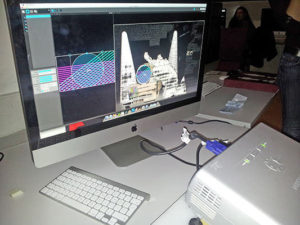
So we had a go by using a basic projector, a Mac, Mad Mapper, Adobe After Effects and some unusual white objects arranged in front of the projector’s light area.
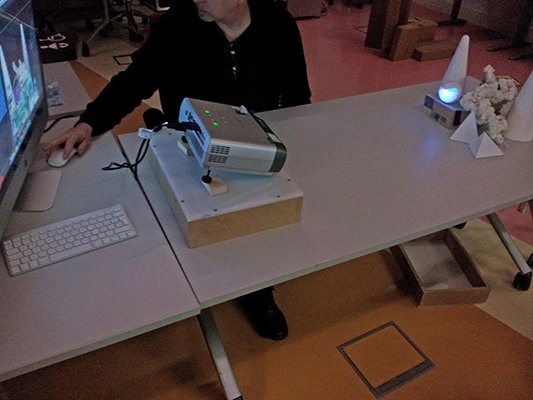
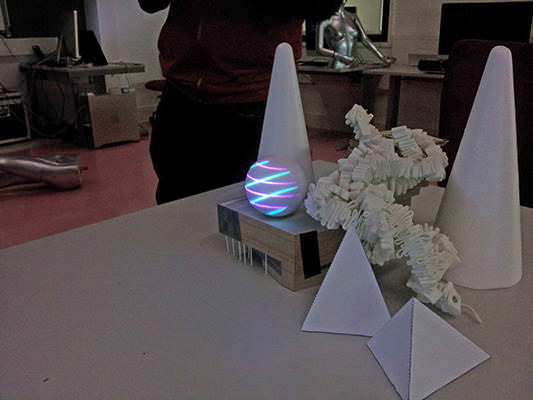

We used a digital SLR camera that was hooked up the projector and the Mad Mapper software to create a scan of the objects to be projected on to. It is possible to do this manually in Mad Mapper but because the model was fairly complex with lots of strange surfaces and curve distortions, we took the quick route!
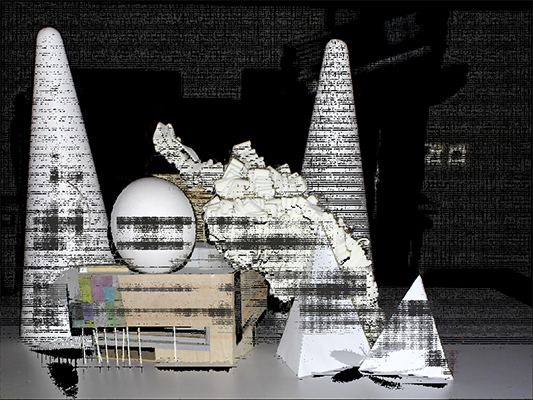
Once we had the scan, we imported it as a JPEG into Adobe After Effects and began masking out separate areas to put animation compositions into.
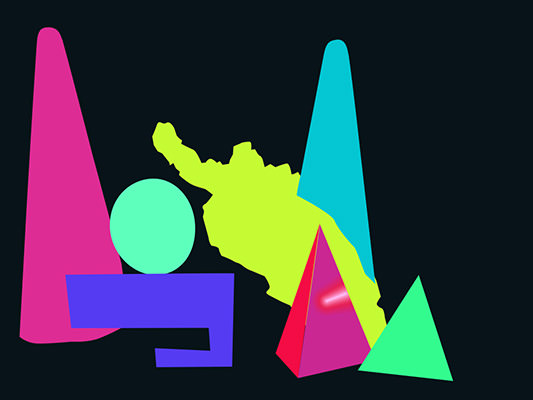


After all the areas were filled with the equivalent of animated doodles, it was exported as a video and imported into Mad Mapper for the projector to project from!

Here’s the animation video mapped onto the model scan area. Mad Mapper automatically loops the video so we only had to make a few seconds of footage.
Ta da! Here’s the finished projection. Apologies for the poor quality phone video. The projector had a bit of a glitch where it was tiling the projection to the far right shattered green pyramid is a bit off. The eye also needs a bit more curve distortion added. Apart from that, we’re pretty happy with it for our first attempt at projection mapping.
It’s definitely something we want to experiment with further and are considering buying a projector for the studio!
